Fitting a BMX Brake
This guide will take you through the process of fitting a BMX brake on a BMX bike, using both written instructions and visual aids, in a step-by-step manner.
1. Position the long cable within the brake lever.
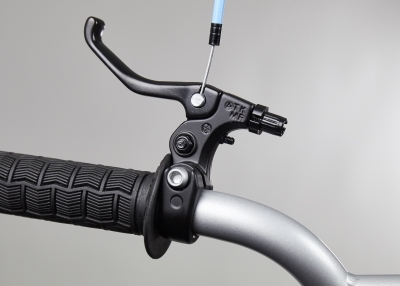
2. Adjust the cable adjuster so that its three openings align. Proceed to insert the cable into the cable adjuster.
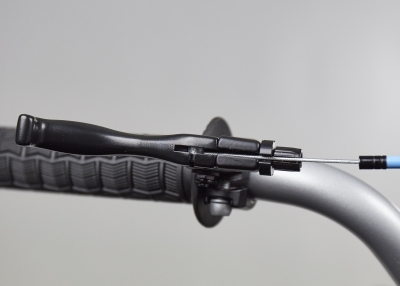
3. Secure the cable adjuster.
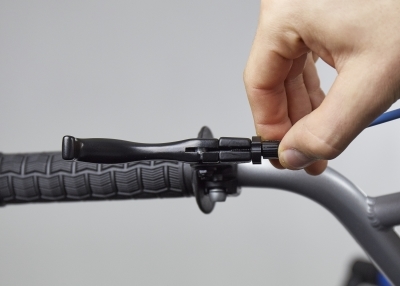
4. Direct the end of the cable through the cable guides located beneath the frame, ensuring it points to the bike's back.
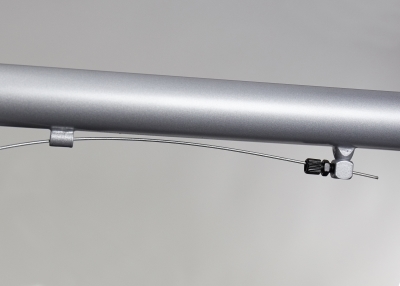
5. Here's the expected outcome beneath the frame.
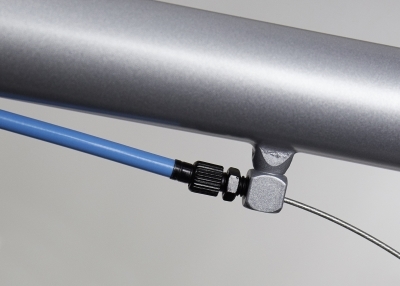
6. Attach the short cable onto the upper segment of the brake arm.
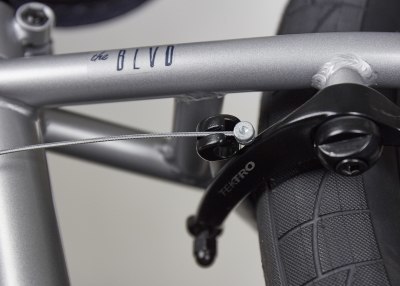
7. Loop the cable around the seat post tube.
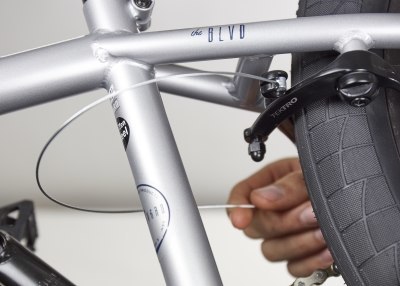
8. Then, attach the end of the short cable onto the lower part of the brake arm. Make sure to pass the cable through the diminutive hole in the bolt affixed to the brake arm.
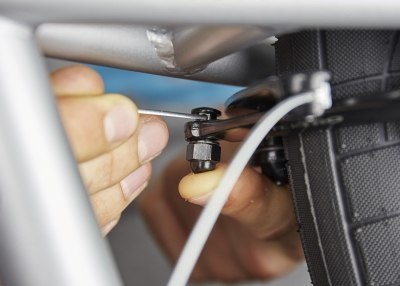
9. Next, secure the bolt on the brake arm using a 10mm spanner, ensuring the final setup resembles the brake shown in the image below.
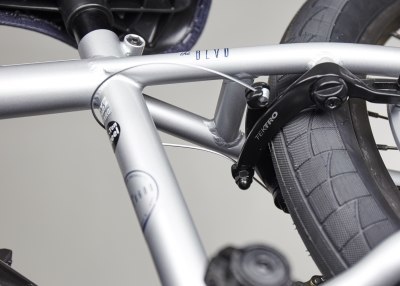
10. The next step is to attach the cable connector on the end of the long cable.

11. Tighten both the cable and the bolt on the cable connector with a 10mm spanner.
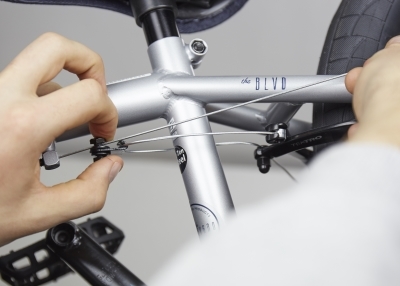
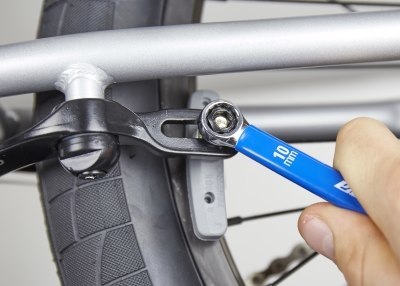
12. Adjust the brake pads to sit correctly on the rim's edge.
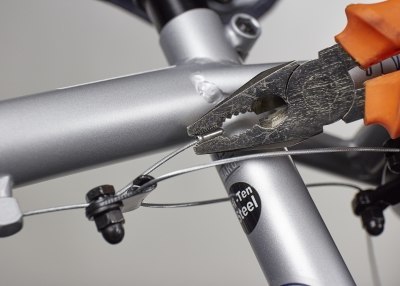
13. If there is an excess of cable, trim the cable to properly accommodate the excess.
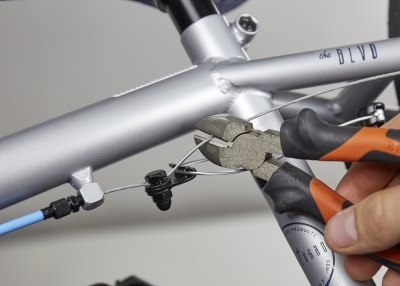
14. Finally, attach the cable ends and use a plier to secure the cable ends on both cables.
If any uncertainty remains regarding the fitting of your BMX brake, please reach out to us here.
