Fitting the Brake on Roxa Comp
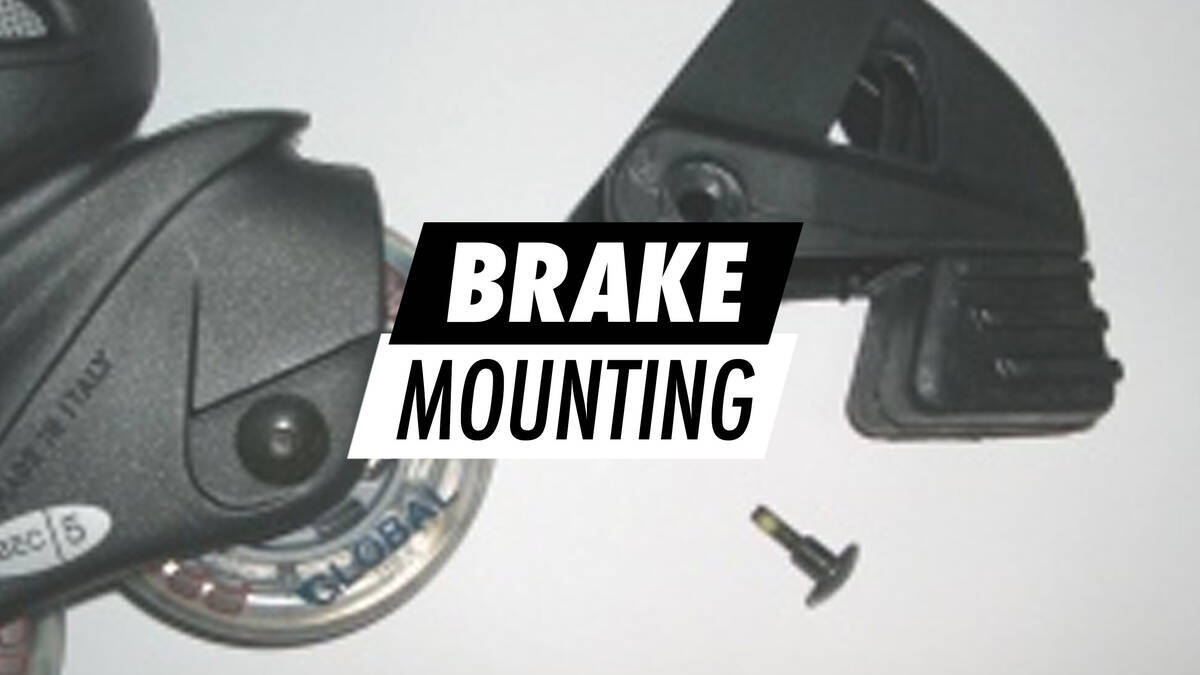
Purchasing a Roxa Comp comes with an included brake pad, which can be mounted with ease.
Required tools: 2 hex tools or skate-tool.
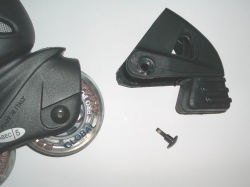
The brake pad fits within the brake housing. Take note of the unique bolt required for the brake.
Stage 1
A hex tool should be used on each side of the wheel to unscrew and remove the old bolt and axle.
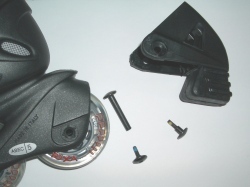
The existing axle and bolt are taken out using two hex tools.
Stage 2
Slip the brake housing over the rear wheel. Ensure the pin on the back of the skate aligns with the top part of the brake housing.
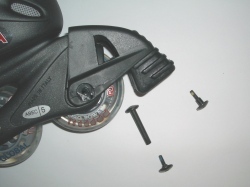
The brake housing is fitted by sliding it over the rear wheel.
Stage 3
The new bolt, which is longer than the previous one, should be used. This bolt is to be fitted alongside the axle.

Utilise the longer, new bolt.
Stage 4
Attach the axle and the longer bolt, ensuring it is secured tightly (yet allowing the wheel to move freely). Retain the old bolt should you eventually decide to use the skate without the brake.
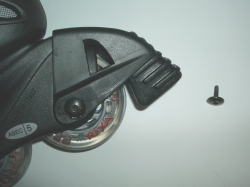
Brake housing with the brake pad secured using the axle and new bolt.
